Payment Plan
The Payment Plan feature offers a convenient way to help you manage college expenses. Instead of paying your college bill for a semester or quarter at once, you can split your college bills into monthly payments. From this page, you can view your eligible payment plans and choose the option that is right for you.
Navigate to the Payment Plan page.
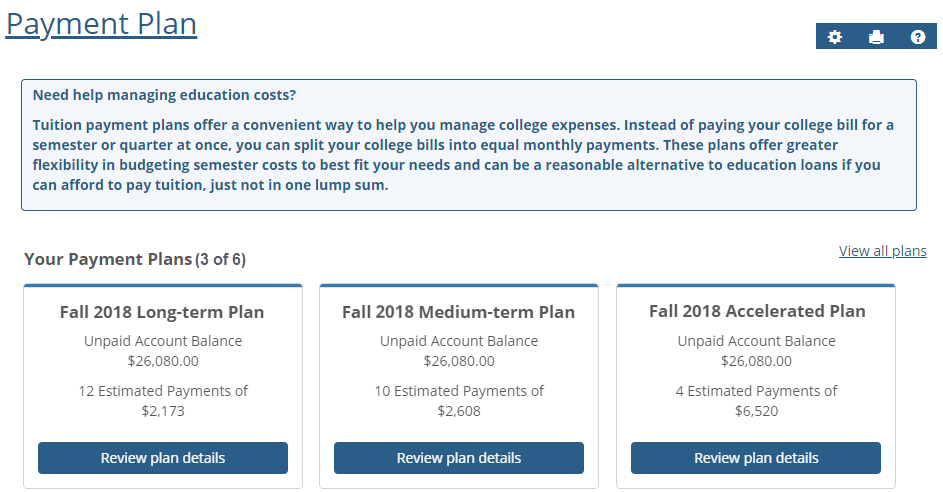
On the Payment Plan page, you will see options for Your Payment Plans.
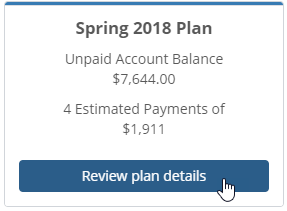
Look at the highlights for the Suggested Plans (your balance, number of payments, and payment amounts), when you find a plan you would like to see more details for, click the Review plan details button for that plan.
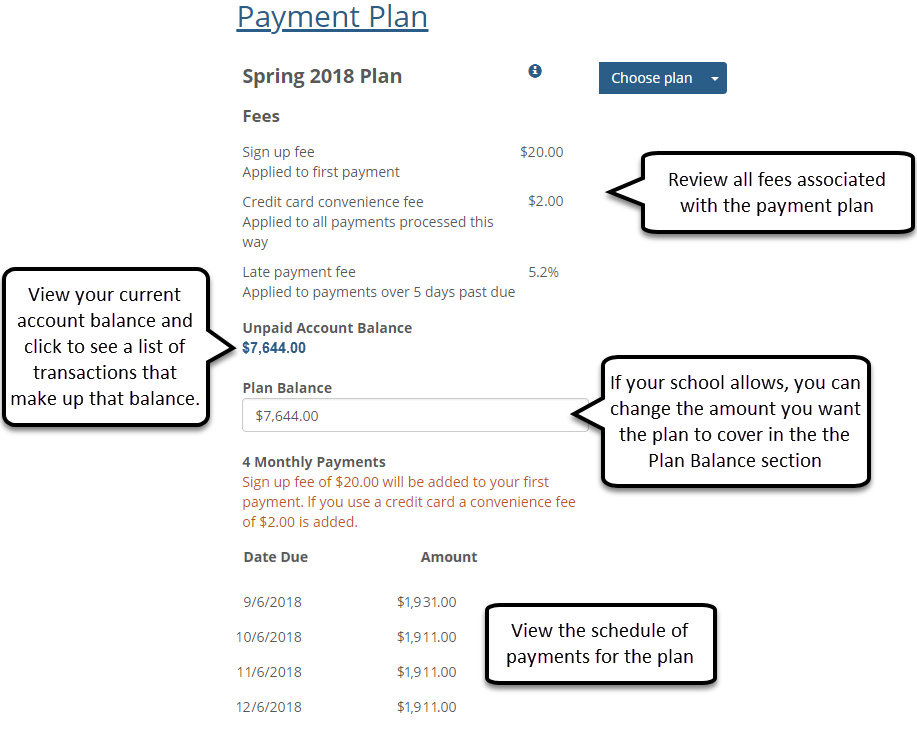
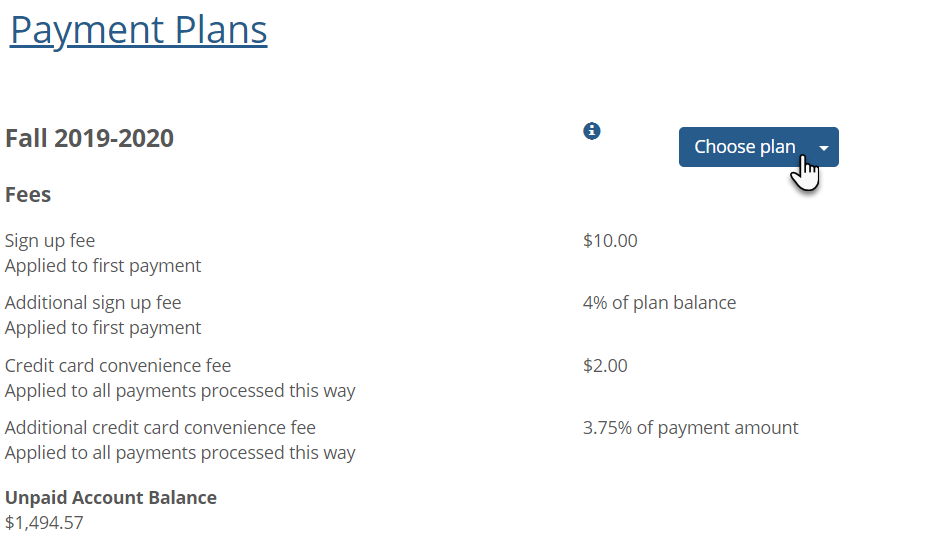
On the Payment Plan review page, you will see the name of the plan you are reviewing, any fees associated with the plan, and a schedule of payments. Fees may be included to cover sign-up, credit card convenience, or late fees.
Carefully review the information. You can go back to the main Payment Plan page to review other plan options.
Navigate to the Payment Plan page.
Review your payment plan options.
When you are ready to choose a payment plan, click the Review plan details button to access the plan fees and details.
From the details page, click the Choose plan button.
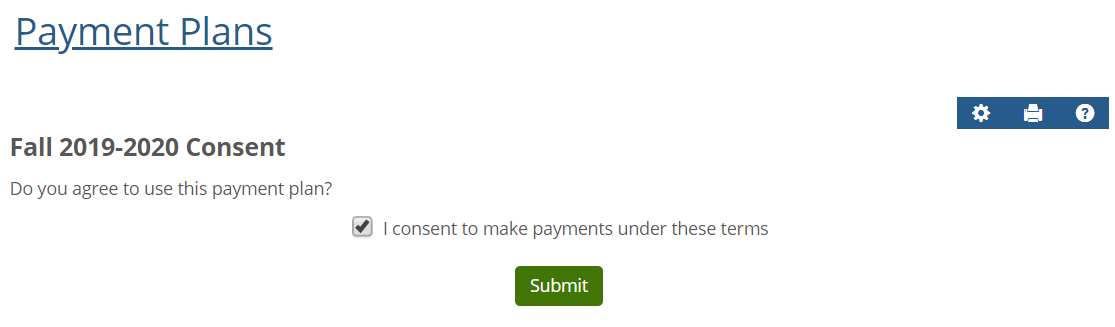
When the Payment Plan Consent page opens, you will need to read the terms and conditions carefully, then select the consent checkbox and click Submit.
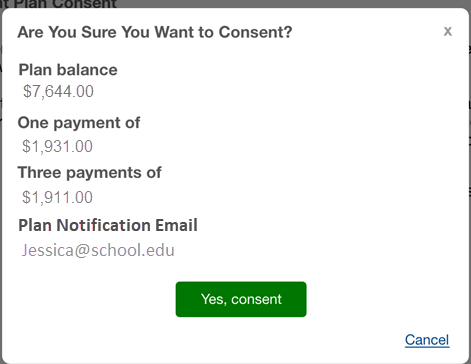
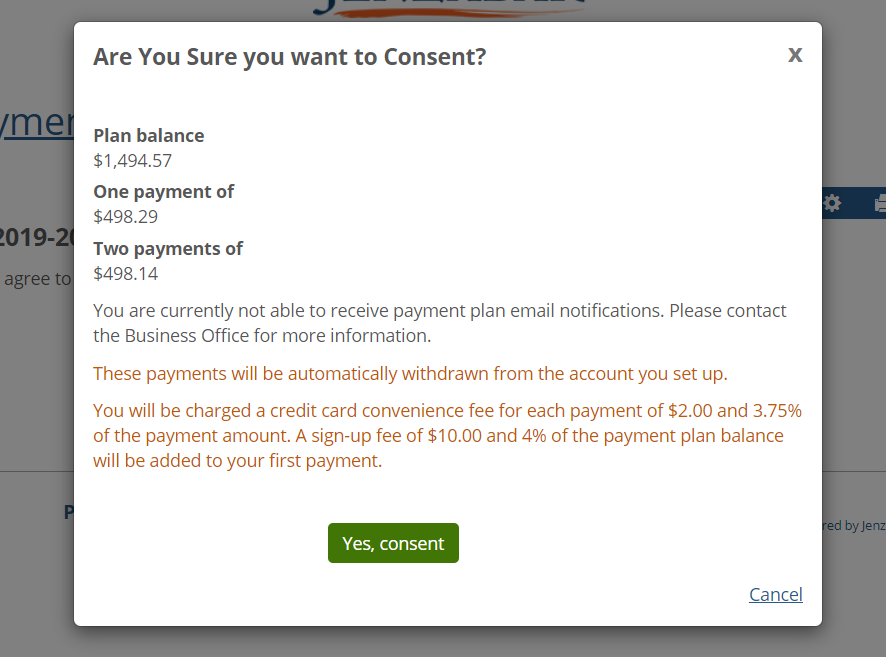
Before you are enrolled in the Payment Plan, there will be one more consent pop-up listing the financial obligations you are agreeing to. If you are sure you want to enroll in the payment plan, click Yes, consent.
Warning
This is your last chance to cancel out of the plan and see a summary of the payment plan details. Once you click Yes, consent, you will be obligated to meet the agreed upon payments.
Note
Automatic payments can only be set up when you first sign up for an eligible payment plan. Your school will determine which plans can utilize automatic payments, and this feature may not be available for all payment plans.
Navigate to the Payment Plan page.
Review your payment plan options.
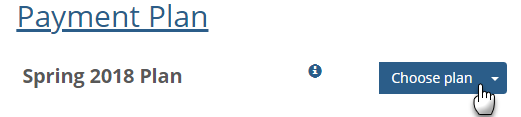
When you are ready to choose a payment plan, click the plan name to access the plan fees and details.
From the details page, click the Choose plan button. Example
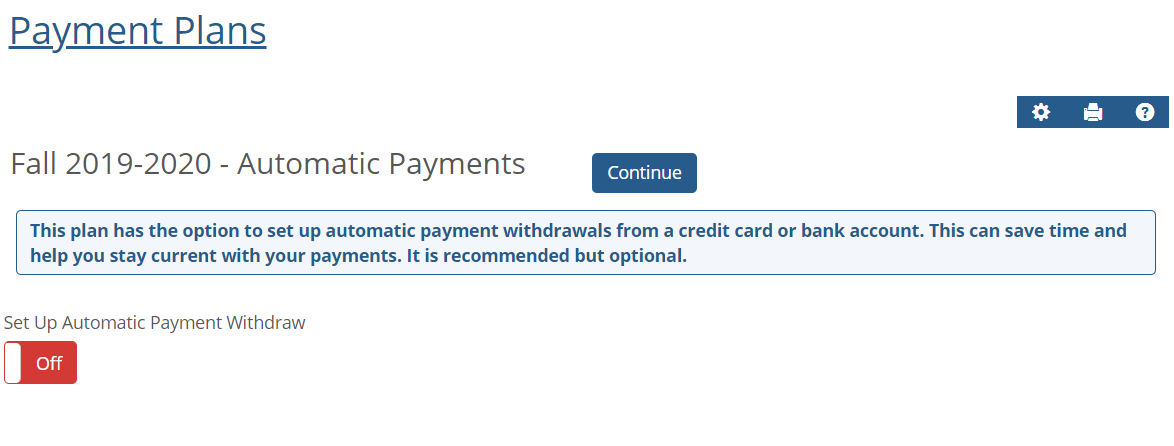
If the payment plan has Automatic Payments available, you will see a toggle switch allowing you to turn automatic payments ON. Click the Off toggle to set up automatic payments for this payment plan. Example
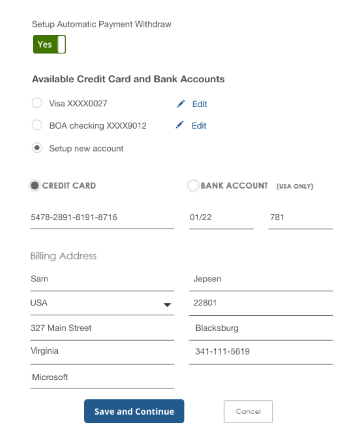
Once the Automatic Payment feature is ON, you will be able to choose a payment or set up a new credit card or bank account. Example
Set up new account: This option will allow you to add a credit card or enter a US bank account which will be charged for each automatic payment based on the payment schedule you've selected. Example
Available Credit Cards and Bank Accounts: If you have paid through the Campus Portal in the past, you may have credit cards or bank accounts already set up. If you want to use one of the existing options, choose the one you want associated with this payment plan. Example
Click Save and Continue.
When the Payment Plan Consent page opens, you will need to read the terms and conditions carefully, then select the consent checkbox and click Submit. Example
Before you are enrolled in the Payment Plan, there will be one more consent pop-up listing the financial obligations you are agreeing to. If you are sure you want to enroll in the payment plan, click Yes, consent.
Note
If you enrolled in automatic payments, the consent pop-up will include details of the automatic payment as well.
Warning
This is your last chance to cancel out of the plan and see a summary of the payment plan details. Once you click Yes, consent, you will be obligated to meet the agreed upon payments.

Navigate to the Payment Plan page.
On the Payment Plan page, you will see options for Your Payment Plans.
Click on the title of the payment plan you need to edit automatic payments for.
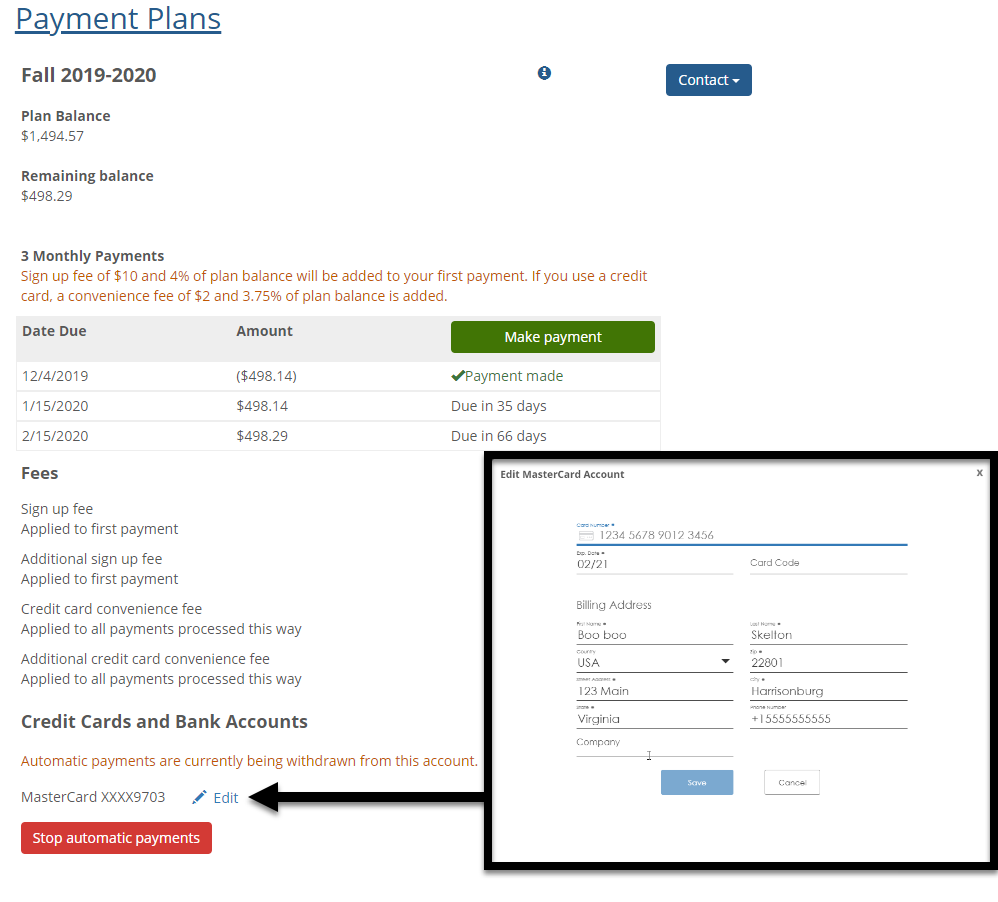
When the plan details page opens, if you have automatic payments set up you will see a red Stop automatic payments button below your plan information. Just above the Stop automatic payments button you will see the payment method with and Edit option next to it. Click Edit.
A pop up window will appear with the credit card or bank information. Make your changes and click Save.
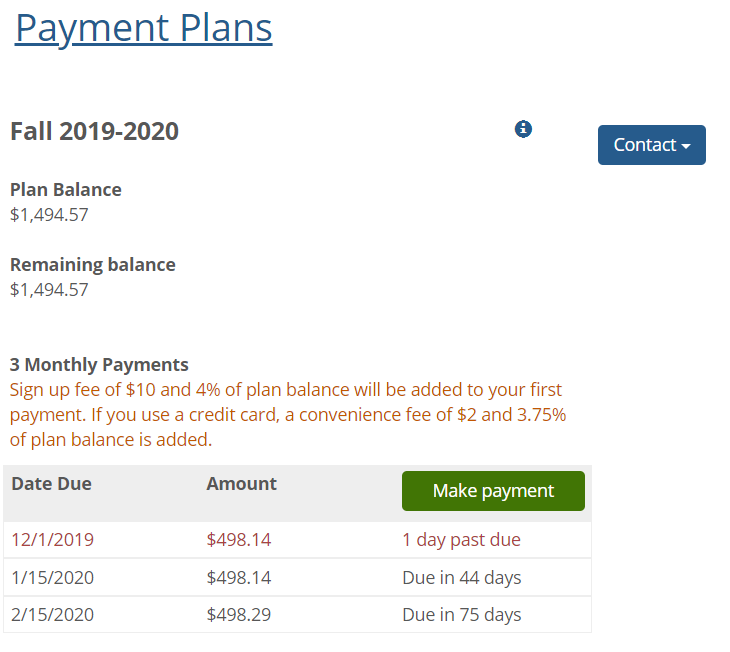
When you are on the main Payment Plan page, you can click on the title of the payment plan to view the plan details. You will be able to see the following details:
Plan Status
Remaining balance due
Payment Status You will see the status of each payment in your plan. Any due payments will show up with the number of days until the payment is due. Payments that are past due will show up in red with the number of days past the original due date. Payments already sent will have a green checkmark and display "Payment made".
Due Dates for remaining payments
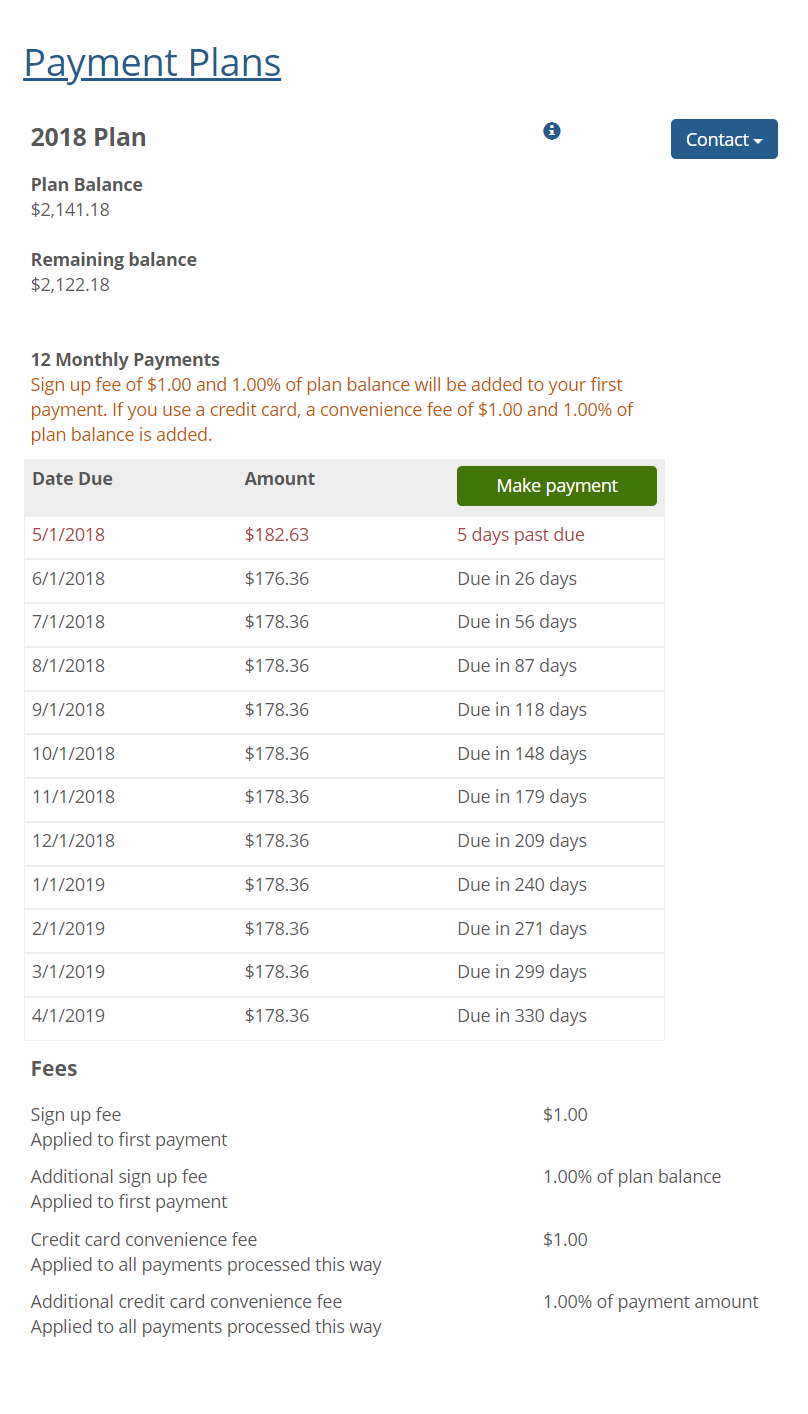
Plan Fees You will see any fees that will be added to your payment plan listed. Fees may be a set dollar amount, percentage of your balance, or a combination of set dollars and percentage. Some fees you may see include:
Signup Fee: this is a one-time fee added to your first payment on this plan.
Credit Card Convenience Fee: This fee is applied to each payment when you pay with a credit card.
Finance Charge: This fee is added monthly until the total amount of your plan is paid in full.
Late Payment Fee: This fee is applied if you are late making a payment.
The payment plan details will list your balance, number and amount for monthly payments, and any fees associated with the plan.
Note
You will be able to make a payment online only if your school has the online payment feature set up. If you do not see a Make payment button, you will need to contact your school’s business office to make any payments on your plan.
Making a payment online is quick and easy. Throughout the Campus portal you may see the green Make Payment buttons. When you click the button, you will be able to enter the amount you want to pay and continue to enter your credit card information.
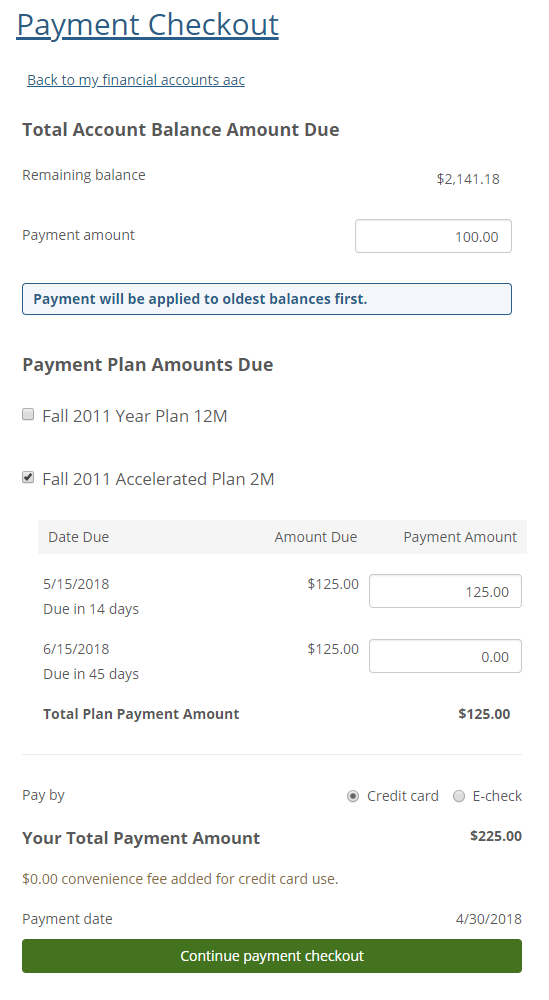
From the Payment Checkout window, you will see the total account balance at the top. For quick payment, you can enter the amount you want to pay in the Payment Amount field then click the Continue payment checkout button at the bottom.
Tip
Any payment made on the total balance will automatically apply to the oldest balance first.
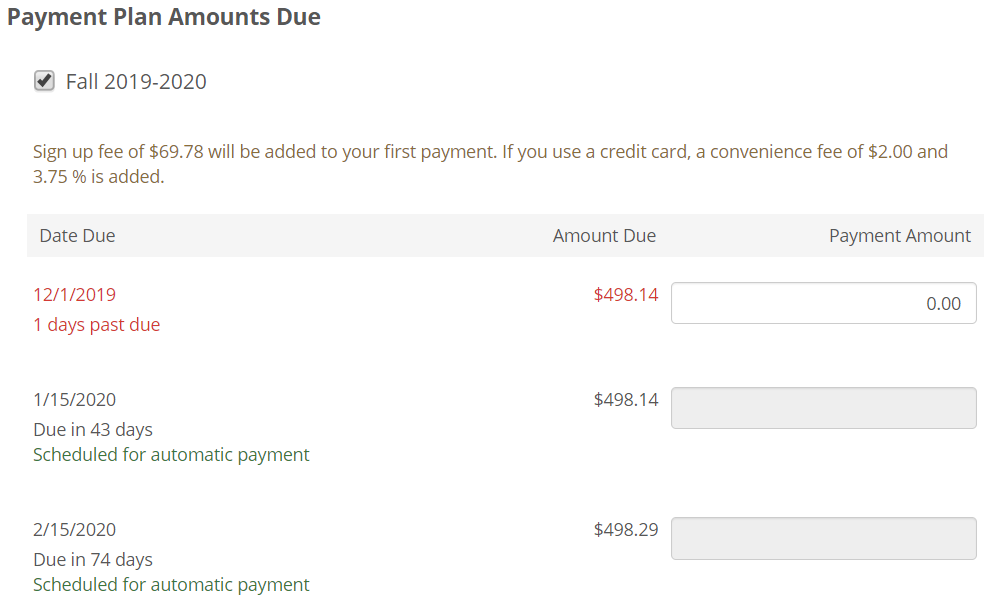
If you have a payment plan, you will see the Payment Plan Amount Due section (just below the Total Account Balance Amounts Due section). You will see a list of due dates and amounts, and can make a payment directly on a due date. If you make a payment for more than the due amount, any additional amount will automatically be applied to the oldest balance first.
If you have more than one payment plan, you can select the checkbox next to the plan title to open a list of due dates and amounts. You can pay on multiple plans by entering an amount next to the due dates. You will see a total amount at the bottom of the window.
Warning
Payment Amounts entered on the Total Balance and Payment Plans sections are cumulative. If you put an amount in the Total Account Balance Amount Due section and put an amount in the Payment Plan Amounts Due section, you will be paying the total of those amounts.
Be sure to check your final total at the bottom of the page before clicking Continue payment checkout.
 |
From the Payment Checkout page, enter your Credit Card information and click Pay Now.
Note
On the Payment Form, you will see the standard payment fields which your school requires for making the payment online.
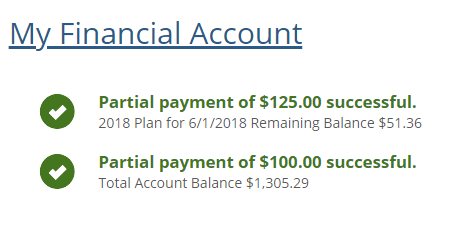
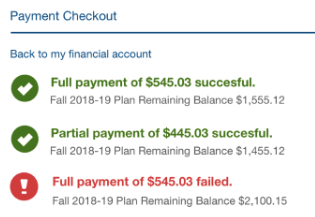
Once you have completed the payment you will see the Payment Receipt page, and if you go back to the Campus Portal tab, you will see a list of the payments made.
Tip
If a payment was not successful, you will see the payment listed in red with a payment failed message.
Navigate to the Payment Plan page.
On the Payment Plan page, you will see options for Your Payment Plans.
Click on the title of the payment plan you need to stop automatic payments for.
When the plan details page opens, if you have automatic payments set up you will see a red Stop automatic payments button below your plan information. Click the Stop automatic payments button.
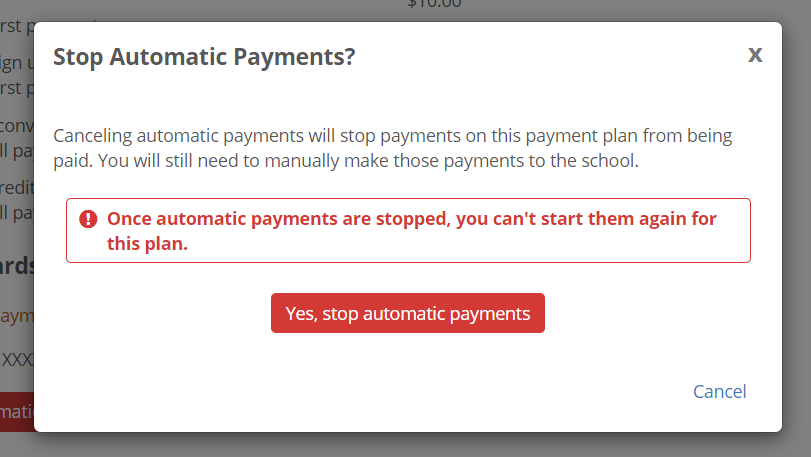
You will see a warning screen appear. Read the details carefully and then click Yes, stop automatic payments if you are sure.
Warning
Once automatic payments are stopped on this payment plan, they cannot be restarted. Canceling automatic payments does not cancel the actual payment plan. You will still be responsible for making your payments manually through the Campus Portal.
If you do not want to permanently stop automatic payments on this payment plan, click Cancel.

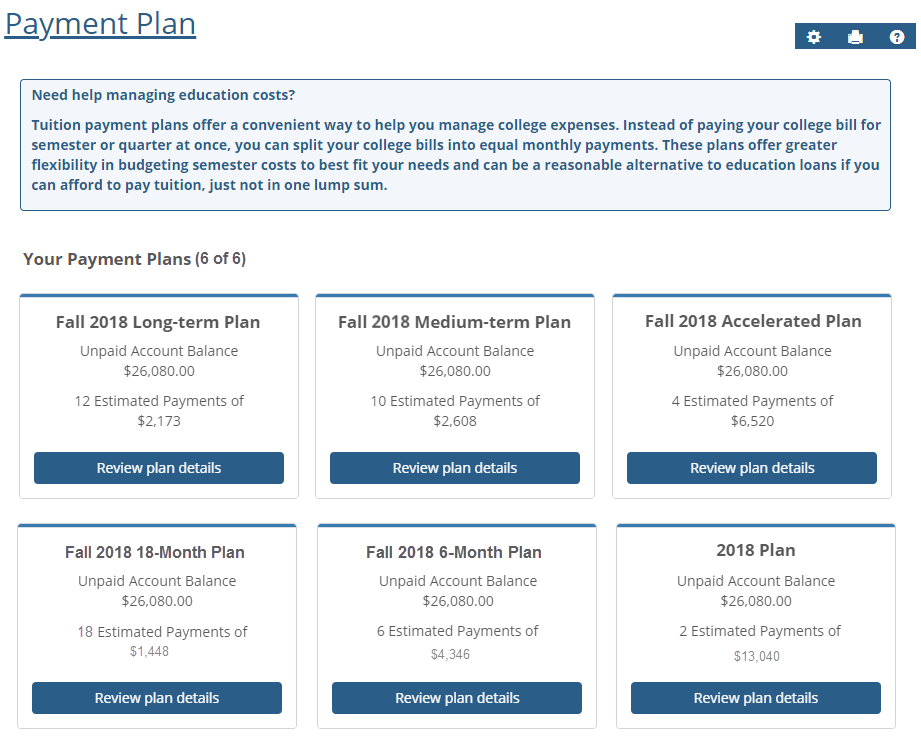
On your Payment Plan window, you should see a heading for Suggested Payment Plans. After that title you will see how many plans you are viewing out of how many plan options you have. If you have more than three options it should say something like “Suggested Payment Plans (3 of 6). To see all six-payment plan options, click the View all plans link that should be across from the Suggested Payment Plans heading.
Note
You will only see the payment plans you are eligible for.
Payment plans must be associated with your account. If you do not see a plan option listed that fits your needs, contact your Business Office.
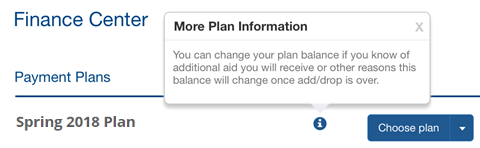
If your school allows you to change the Plan Balance, you may want to make a change if you know of any additional aid you will receive or other reasons the balance will change once add/drop is over.
Notice
If you made a payment right before selecting a payment plan, your account balance may not be updated to include the recent payment. Also, if you know you will be adding or dropping a class, be aware that your total account balance may change.
Most of the time, the reason a payment will fail is that the card is declined. Check your credit card number and make sure the numbers were entered correctly.
Another reason the payment could have failed is if there was an issue with your internet connection while processing. If you think the transaction should have gone through, you can try again.
No. The only time you can make payments on a plan that is set up for automatic payments, is if a payment on that plan is late. If you try to make a payment, the fields will not be active and you will not be able to enter an amount to pay. If you feel you need to make an additional payment on this plan, contact your school's business office.
If you see a late payment notification and you've previously set up automatic payments, there might have been a problem with your payment method. Double check that the account associated with the automatic payments is correct.
To pay on the late payment, access the payment plan details page and click the Make a payment button. Follow the instructions to complete your transaction.
Note
The Make a payment button will only be available for plans on automatic payments if a payment is late. You cannot make an early payment or additional payment on a plan that is utilizing the automatic payment feature.
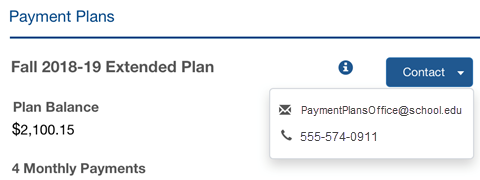
To change or cancel your current payment plan, you will need to contact your Business Office.
Warning
Once you consent to a payment plan, you cannot change the details. Consenting is equivalent to signing a contract and agreeing to make the payments.
Combining payment plans is not something you can do online. You will need to contact your Business Office to discuss the options available.
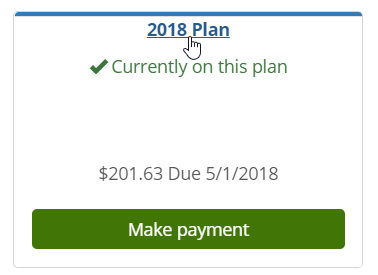
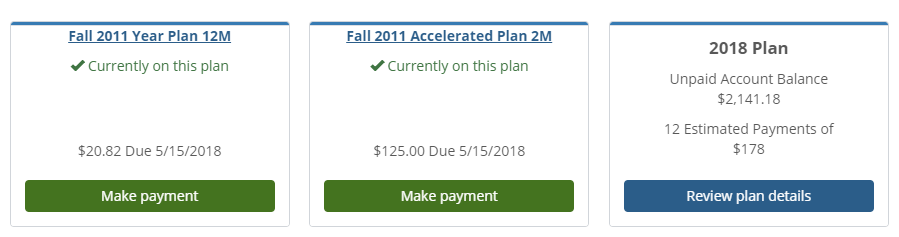
On the Payment Plans page, you will see plans you’re already on listed first followed by any plans you can sign up for. If you are on a plan, you will see a green checkmark with a note that you are “Currently on this plan” and you can click the plan title to see all the plan details. If you have not signed up for a plan you will see a blue button for Review plan details.
The Plan Balance is linked to your My Financial Account feature so you can see all transactions that make up your plan balance. If you have a question about how you got that balance you can quickly look through the list.
If you plan has any fees associated with it, you will see them listed in your plan details and at checkout. Depending on your school’s policies, you may see fees as a set dollar amount, percentage of your balance, or a combination of set dollars and percentage. Some fees you may see include:
Signup Fee: There may be a fee to start a payment plan. This signup fee is a one-time fee and will be added to the first payment on this plan.
Credit Card Convenience Fee: Accepting credit cards can be expensive for your school and there may be a fee applied to each payment you make using a credit card. If you need to make multiple payments, it might be a good idea to make them all at once instead of individually to avoid getting this fee too often.
Finance Charge: Some plans may have a finance charge. This is similar to interest, and will be added monthly until the total amount of your plan balance is paid in full.
Late Payment Fee: If you are late on a payment there may be a late payment fee for not meeting the agreed upon deadlines.
Note
Fees are detailed on in the Payment Plan review page where you can view the details of the plan before consenting and applying the plan to your account. Once you've consented to a payment plan, you can review the details of your plan by selecting the plan from your Payment Plan page. You may see charges listed on your account separate from the payment plan payment. This happens when a fee is associated with your payment plan and the fees appear as miscellaneous charges on your financial account.
If you received a message saying, "You are currently not able to receive payment plan email notifications, please contact the Business Office for more information." that means that you do not have an institutional email address assigned to your account. Unfortunately, you cannot add an email address at this time, so adding an institutional email address will have to be done by the Business Office.
Email notifications are determined by your school. If all notifications are turned on, you would receive an email for the following payment plan events:
Consent to Payment Plan
Next Payment Due
Payment Past Due
Finance Charge/Late Payment Fee Charged
Payment Made
Change to Plan Balance
Yes. When an automatic payment is made, you will receive confirmation of your payment and an email from Authorize.Net that your payment was successful or unsuccessful. If your school is using payment plan notifications, you will also receive an email confirmation any time a payment is made.
If you have more than one payment plan, you must stop automatic payments for each payment plan. Stopping automatic payments on one plan will not stop automatic payments on all plans.
You can't. Unfortunately, once you stop automatic payments on a payment plan, they cannot be restarted on the same plan. You can make manual payments through your school's business office or on the Campus Portal.